Unlock Bakery-Quality Eclairs: Your Easy Homemade Guide
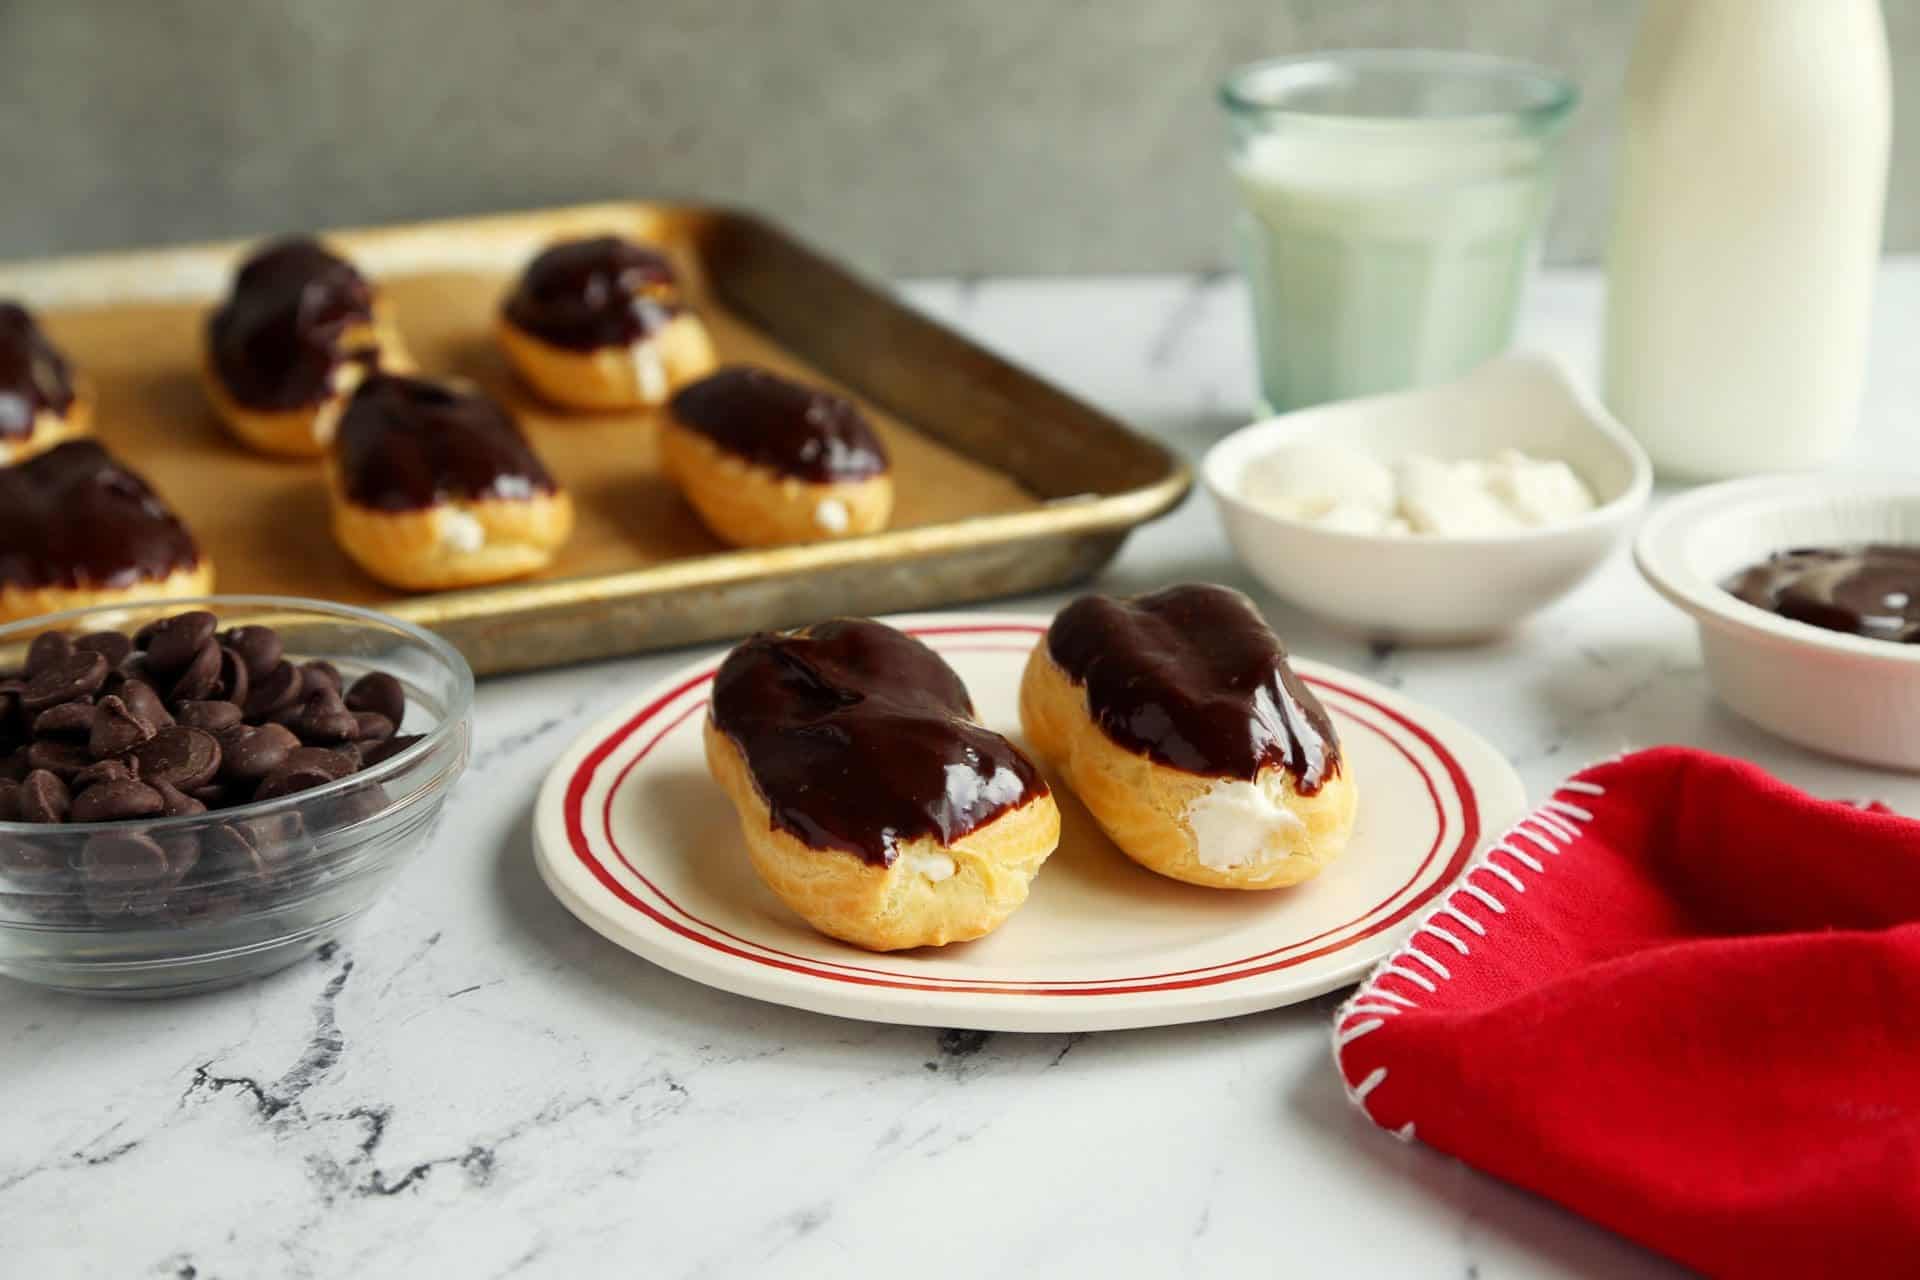
Imagine biting into a perfectly crisp, airy choux pastry, giving way to a rich, creamy filling, all crowned with a luscious chocolate glaze. This is the dream of a bakery-quality eclair, a dessert often considered the domain of professional pâtissiers. But what if we told you that creating these exquisite treats at home is not only achievable but also incredibly rewarding? Forget the intimidation factor; with our detailed guide, you’ll discover how truly
simple eclairs three ways can be, allowing you to impress friends and family with your newfound baking prowess. We’ll demystify each step, from crafting the foundational choux pastry to exploring delightful filling and glazing options, ensuring your homemade eclairs rival any patisserie delight.
The Unsung Hero: Mastering Choux Pastry (Pâte à Choux)
At the heart of every magnificent eclair lies the humble yet magical choux pastry. This light, hollow dough is what gives eclairs their signature crisp shell and ethereal interior, perfect for holding generous amounts of cream. Often perceived as complex, choux pastry (or *pâte à choux*) is surprisingly straightforward once you understand a few key principles.
To begin, gather your core ingredients: water, milk, unsalted butter, a pinch of sugar, salt, all-purpose flour, and eggs. The combination of water and milk helps create a tender yet sturdy pastry. In a sturdy saucepan, combine the water, milk, butter, sugar, and salt. Heat this mixture over medium heat, stirring occasionally, until the butter is fully melted and the sugar and salt have dissolved. Bring it to a rolling boil over high heat, then immediately remove it from the stove.
The next step is crucial: adding the flour. Dump all the flour into the hot liquid at once and stir vigorously with a wooden spoon or heat-resistant spatula until the mixture forms a smooth ball and pulls away cleanly from the sides of the pan. This process, known as creating the "panada," cooks off excess moisture, which is vital for a crisp eclair. Continue stirring over low heat for another 1-2 minutes to further dry out the dough, ensuring it's smooth and lump-free.
Transfer the dough to a large bowl and let it cool for about 10 minutes. This cooling period is essential; adding eggs to hot dough would scramble them! While it cools, lightly whisk your eggs in a separate bowl. Now comes the defining moment: incorporating the eggs. Add the whisked egg mixture gradually, about a quarter of a cup at a time, to the dough. Mix thoroughly after each addition, either with your wooden spoon or a hand mixer, until the egg is fully absorbed. The dough will initially look separated and greasy, but with continued mixing, it will transform into a smooth, glossy, and thick batter. The ideal consistency, often called the "ribbon stage," is when the dough falls from your spoon in a thick ribbon that holds its shape for a moment before melting back into the batter. This precise hydration is the secret to perfect puff.
Once your choux pastry is ready, it's time to pipe. Preheat your oven to a consistent 350ºF (180ºC). Line a baking sheet with parchment paper. Transfer the choux dough to a piping bag fitted with a large round or star tip. Pipe 3-4 inch long strips onto the parchment paper, leaving space between each for expansion. For an even bake and a beautiful golden finish, gently smooth down any peaks with a wet finger and brush the piped eclairs with a light egg wash. Bake for approximately 25-28 minutes, or until they are puffed, golden brown, and feel light and crisp to the touch. *Pro tip: Avoid opening the oven door too early, as this can cause the pastry to collapse.* Once baked, immediately transfer the choux pastry shells to a wire rack to cool completely, allowing steam to escape and maintaining their crispness.
Filling Your Eclairs: Three Delicious Ways to Delight
Now for the truly fun part: customizing your homemade eclairs with luscious fillings! This is where the "three ways" truly shine, offering distinct flavor profiles to suit any palate. The beauty of homemade eclairs lies in their versatility, and preparing your filling the day before is a fantastic time-saving tip, allowing it to chill thoroughly and develop its full flavor and consistency.
1. The Classic: Vanilla Pastry Cream (Crème Pâtissière)
For a traditional, elegant eclair, nothing beats a velvety vanilla pastry cream. This rich, custard-like filling is the cornerstone of French patisserie. Made with milk, sugar, egg yolks, cornstarch (or flour), and a generous hint of vanilla, it's incredibly smooth and satisfying. To fill, spoon your chilled pastry cream into a piping bag fitted with a small, round tip. Make two small holes in the bottom of each cooled eclair shell and pipe the cream until the pastry feels weighty and full. Wipe away any excess for a clean finish.
2. The Indulgent: Rich Chocolate Crème Pâtissière
Elevate the classic by transforming your vanilla pastry cream into a decadent chocolate version. Simply incorporate high-quality melted dark or semi-sweet chocolate, or sifted cocoa powder, into your warm pastry cream after it's thickened. The result is an intensely flavorful, luxurious chocolate filling that pairs perfectly with the crisp choux. This offers a deeply satisfying alternative for chocolate lovers.
3. The Simple & Fresh: Light Whipped Cream
For those who prefer a lighter, airier dessert, a simple whipped cream filling is an absolute delight. This option is incredibly easy and quick to prepare, offering a fresh contrast to the rich pastry. All you need is cold heavy cream, a touch of powdered sugar, and a splash of vanilla extract. Whip them together until soft to medium peaks form. This filling is best enjoyed shortly after assembly for peak freshness.
Beyond these three essential choices, the world of fillings is your oyster! Consider a tangy lemon curd, a vibrant raspberry jam, a smooth diplomat cream (pastry cream lightened with whipped cream), or even a delicate coffee-infused cream. For more inspired ideas and detailed recipes on customizing your fillings, don't miss our comprehensive guide:
Ways to Master Eclairs: Customizable Fillings & Glaze.
The Grand Finale: Crafting the Perfect Glaze
A spectacular glaze is the crowning glory of any eclair, adding both visual appeal and a final layer of deliciousness. Again, we offer easy variations to suit your taste.
1. The Velvety: Classic Chocolate Ganache
This is perhaps the most popular and easiest glaze. In a small saucepan, heat heavy cream until it just begins to simmer. Remove from the heat and add good quality baking chocolate or chocolate chips, broken into small pieces. Let it sit for a minute, then stir well until the chocolate is completely melted and you have a smooth, glossy, irresistible mixture. Allow it to cool slightly so it's warm but not hot for dipping.
2. The Sweet & Bright: White Chocolate Glaze
For a different aesthetic and flavor profile, a white chocolate glaze offers a lovely contrast. Prepare it similarly to the dark chocolate ganache, using white chocolate chips or finely chopped white chocolate. Be mindful that white chocolate can be more prone to seizing, so melt it gently and stir until perfectly smooth. You can even tint it with food coloring for a playful touch!
3. The Quick & Easy: Simple Powdered Sugar Glaze
If time is of the essence, or you prefer a less intense sweetness, a basic powdered sugar glaze is your go-to. Whisk together powdered sugar with a small amount of milk or water and a drop of vanilla extract until you reach your desired drizzling or dipping consistency. This glaze sets quickly and offers a clean, sweet finish.
Once your glaze is ready, carefully dip the top of each filled eclair into the warm (not hot) glaze. Lift it gently, allowing any excess to drip off, and then place it on a wire rack for the glaze to set. For extra flair, consider adding sprinkles, chocolate shavings, or a drizzle of contrasting glaze before serving.
Assembly & Storage Tips for Homemade Eclairs
Bringing all the elements together is the final step to eclair perfection. Ensure your choux pastry shells are completely cool, your chosen filling is well-chilled, and your glaze is at the right temperature (warm for ganache, room temp for powdered sugar glaze).
For optimal enjoyment, eclairs are best filled and glazed shortly before serving. This prevents the pastry from becoming soggy and ensures the filling retains its ideal texture. If you need to prepare ahead, you can bake the choux pastry shells a day or two in advance and store them in an airtight container at room temperature. For longer storage, unfilled choux pastry can even be frozen for up to a month.
Once filled and glazed, eclairs are best consumed within 1-2 days. Store them in an airtight container in the refrigerator. Keep in mind that the glaze might lose some of its shine, and the pastry can soften slightly over time, especially with very moist fillings. For more in-depth advice on preparation timelines and keeping your creations fresh, explore our guide on
The Ultimate Homemade Eclair Guide: Pastry, Fillings, Glaze.
You've now mastered the art of making
simple eclairs three ways, unlocking the secret to bakery-quality desserts right in your own kitchen. From the crisp choux pastry to the customizable fillings and gleaming glazes, each step contributes to a truly exquisite experience. So go ahead, experiment with flavors, unleash your inner pâtissier, and delight in the sheer joy of creating these beautiful and delicious homemade treats. You might just find yourself making batches by the dozen!